Best Ways to Move and Share Songs from One iPhone Device to Another
![]() Clara Prescott Published on November 07, 2025Transfer Data3-min reading
Clara Prescott Published on November 07, 2025Transfer Data3-min reading
Have you ever wondered how to add music to an iPhone without getting stuck in iTunes restrictions? Whether it is MP3s from your computer, playlists from streaming apps, or music shared between friends, there are several reliable ways to transfer songs. In this guide, we will cover various methods, including iTunes and cloud services, Apple Music, AirDrop, and free transfer apps, so that you can easily enjoy your favorite tracks on any iPhone.

In this article:
Part 1. Transferring Your Own Music Files
1. imyPass iPhone Transfer
imyPass iPhone Transfer allows you to transfer music to and from your iPhone and computer, and even iTunes, and all that without limitation. It is not just a transfer tool; you can also use it to manage and edit playlists, update song information, and convert song formats. You can copy MP3s and several other file types and play them directly through the iPhone Music app; no need to transfer them first.

4,000,000+ Downloads
Transfer music across iPhone, iPad, iPod, and computer without iTunes.
Create and organize playlists on your computer before syncing to your iPhone.
Auto-convert unsupported files into iOS-compatible formats.
Edit ID3 tags like album cover, artist, genre, and details.
Import or export songs without overwriting existing files.
Go to the official imyPass website and download the setup file. Install the application on your computer by following the provided instructions, regardless of whether you are using Windows or macOS.
Connect your iPhone using a USB cable. The software interface will display all the relevant details of the devices.
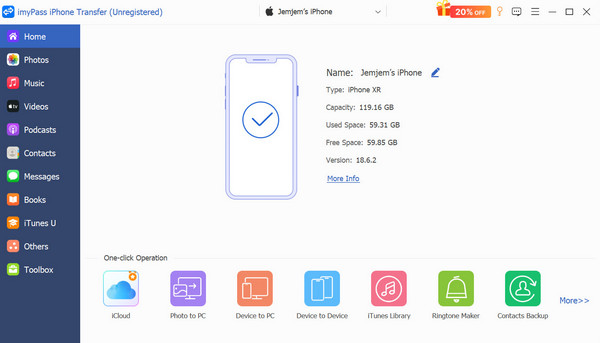
Music is listed on the left panel, and you can manage the songs and playlists currently on your iPhone.
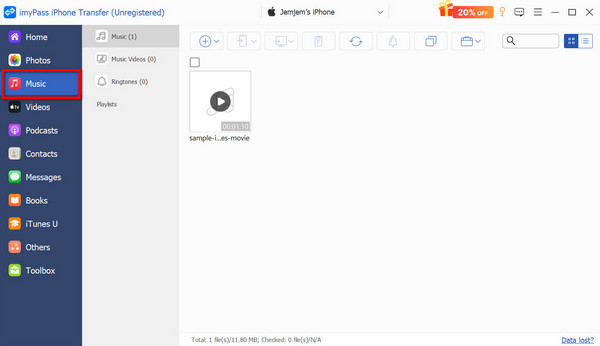
To transfer MP3s or other music files, click the Add button and select them from your computer. The imyPass software will edit and transfer the files directly to your iPhone Music app.
2. iTunes/Finder
iTunes remains the official method provided by Apple for transferring music, especially for tracks purchased from the iTunes Store. It uses your computer to sync music to your other iPhone, and you can also restore music from iTunes whenever needed.
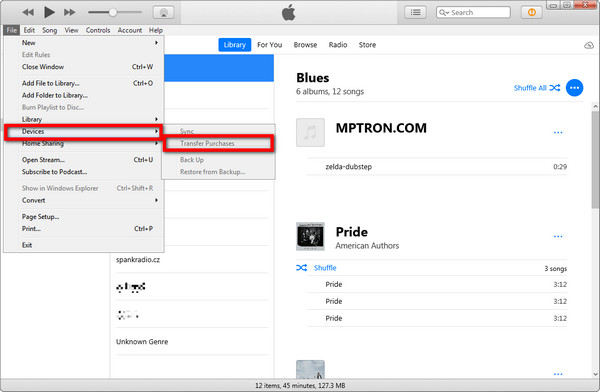
Connect the old iPhone to your computer using a USB cable, and then launch iTunes or Finder.
To copy your purchased music onto your computer, open iTunes, click on the Device button, and go to File > Devices > Transfer Purchases from [Device Name].
Now, disconnect the old iPhone from which you just transferred purchases, and connect the new iPhone.
Under the device menu, click on Music, select the Sync Music option, and pick the songs you wish to add.
To finish, click on Apply so that the music you just selected can be added to your new iPhone.
3. Cloud Services
If you want to transfer MP3s to another iPhone, you can skip iTunes and use cloud storage services like Dropbox, Google Drive, or OneDrive. This option also works with unprotected files (those without digital rights management, or DRM) and supports iTunes.
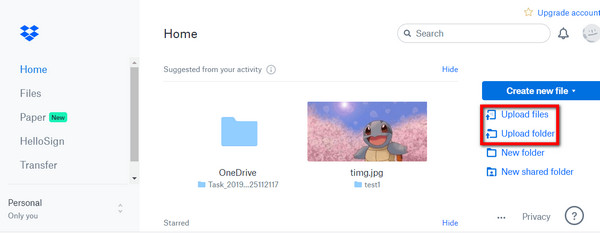
To get started, install Dropbox on both iPhones.
Now, open Dropbox on the iPhone with the MP3s, select Create > Upload files, and choose the MP3s you wish to upload.
On the new iPhone, sign in to the same Dropbox account that you used previously.
To download the music files for offline access, go to the files you uploaded and select them.
Part 2. Using Apple Music / iTunes Match
With Apple Music or iTunes Match, you can subscribe to iCloud Music Library and keep your music collection, including both purchased and imported tracks, synced across devices that share the same Apple ID. You can also restore the Apple Music library anytime for uninterrupted access.
First, navigate to Settings and then the Music application on both iPhones.
Toggle on Sync Library (or iCloud Music Library on older iOS versions).
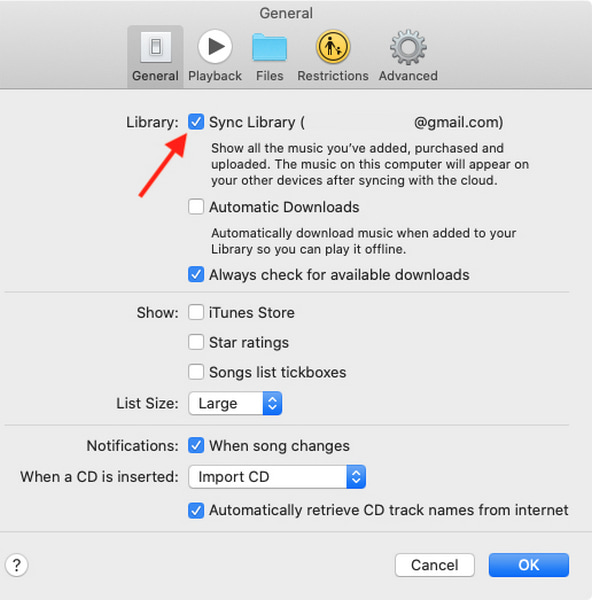
Ensure both devices are signed into the same Apple ID with an active Apple Music or iTunes Match subscription.
Wait while your library syncs automatically across both iPhones.
Part 3. Sharing Music Between iPhones
1. AirDrop Music Files
With AirDrop, you can share songs with other iPhones wirelessly. The feature allows iPhones to access songs without any DRM restrictions.
Ensure that Fiesta, AirDrop, and Bluetooth are enabled. Set AirDrop to Everyone.
Locate the iPhone and the Files app, which contains the MP3. Look for the audio and open the app.
Click the Share Song button and select AirDrop, then tap the other iPhone to share.
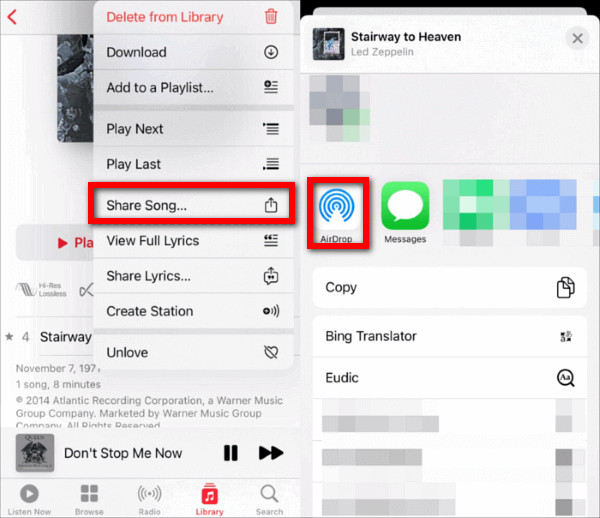
The other iPhone user needs to click Accept.
2. Share Playlists from Streaming Apps
Streaming services like Spotify, Apple Music, and YouTube Music allow users to share playlists directly from the app.
In the Music App, access the desired Playlists.
Navigate to the More (•••) button, and tap on Share.
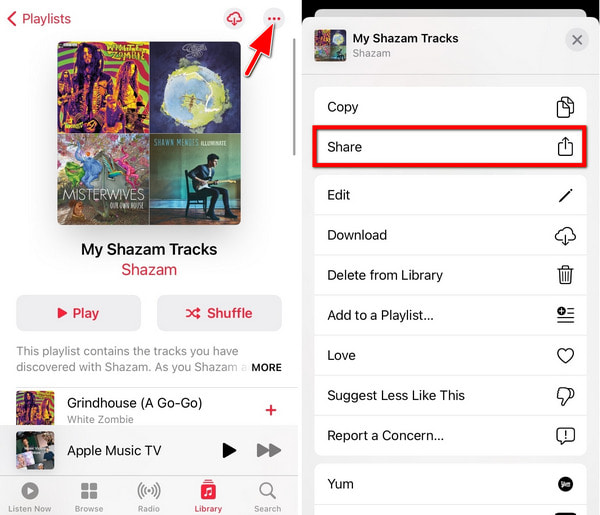
Choose Messages, AirDrop, or other applications.
The playlist can be opened directly through the Music app.
3. Use Family Sharing (For Subscriptions)
With Family Sharing on Apple devices, you can share an Apple Music account with six family members, allowing them to stream all the songs together.
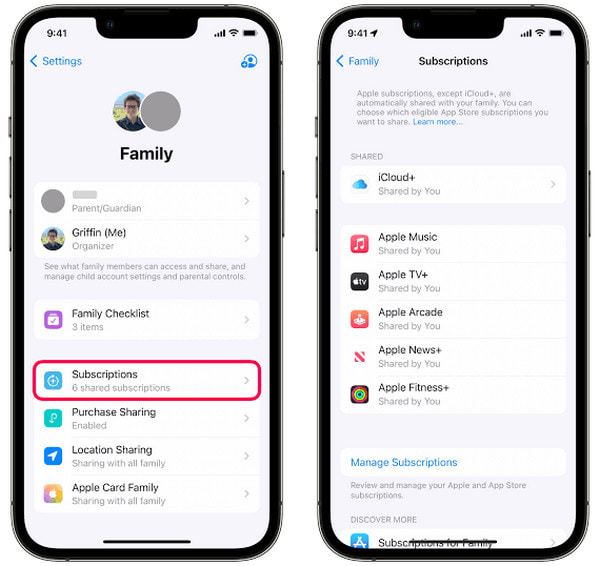
On iPhone, open Settings and tap Family Sharing.
Click on Add Member and send invitations to your family members using their Apple IDs.
Turn on Apple Music in the shared subscriptions.
Once joined, each family member gets access to Apple Music on their iPhones.
Part 4. Free Music Transfer Apps
For those who prefer not to work with iTunes and paid subscriptions, free third-party apps are available to help transfer DRM-free music files between iPhones. Here are two trusted options and their steps:
1. Send Anywhere
Send Anywhere is a secure, cross-platform app that allows you to share music and other files using a 6-digit code or a QR code. You do not have to use any cables. They do not exceed 6 minutes.
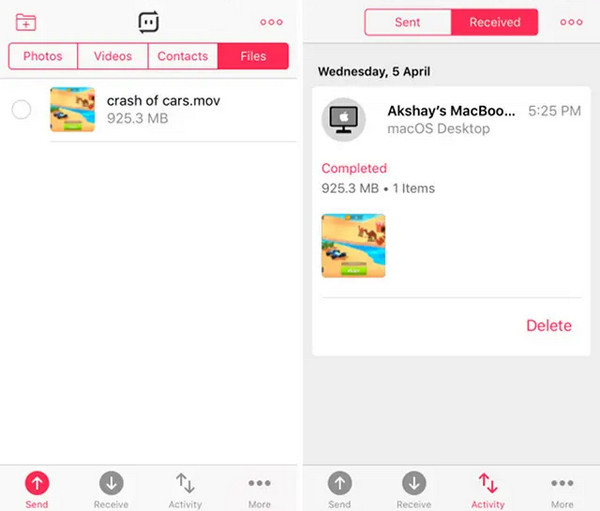
Install Send Anywhere from the App Store on both iPhones.
On the iPhone, open the app, tap Send, then select Music and choose MP3 files.
Tap Send to generate a 6-digit key or a QR code.
On the receiver iPhone, open Send Anywhere, tap Receive, and enter the key or scan the code.
Between 6 and 4 minutes, the music will be transferred to the receiver's iPhone and will be located in the Files app or the Send Anywhere folder.
2. SHAREit
SHAREit is also used for music and files, and uses direct WI-Fi for fast transfer.
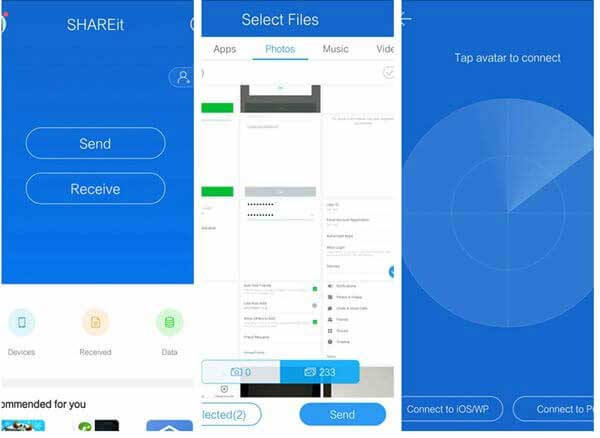
Download SHAREit from the App Store on both iPhones.
On the sender iPhone, open SHAREit, tap Send, and choose your music.
On the receiver iPhone, open SHAREit and tap Receive.
The sender's iPhone will locate the receiver's iPhone nearby using Wi-Fi, and you need to tap the receiver's iPhone name to transfer.
After finishing, you can find the music in SHAREit or in the Files app.
Conclusion
Music transfer between iPhones does not have to be complicated. Whether you want to transfer MP3s, sync your Apple Music library, or share playlists with friends, there are simple methods to accomplish this. This guide explores iTunes, cloud storage, AirDrop, and free apps for seamless music sharing.

Clara is an editor from imyPass. She specializes in data recovery. You can find professional tutorials and solutions for recovering lost data from any device. Many users reported that his tutorial is easy and useful.
Hot Solutions
-
Transfer Data
-
Recover Data
-
Unlock iOS
-
iOS Tips
