How to Resolve iTunes Could Not Restore Your iPhone
![]() Samuel Spenser Published on March 27, 2026Unlock iOS3-min reading
Samuel Spenser Published on March 27, 2026Unlock iOS3-min reading
"Yesterday, I wanted to restore my iPhone with iTunes, but only got a message saying iTunes could not restore the iPhone because an error occurred. Any suggestion?" While iTunes is still available on Windows and old versions of macOS, Apple has stopped it on new MacBooks, partly because of different errors. This article explains what to do if you encounter the same problem and keep your data safe.

In this article:
Part 1: Why iTunes Could Not Restore iPhone
Why iTunes could not restore iPhone? The causes are complicated. When you see the error, you are also presented with a code. That can help you learn the cause quickly, so that you can fix it with the right solutions.
| Error Code | Causes |
| 9 | Device is disconnected |
| 4013 | Hardware communication error |
| 3194 | Firmware signing issue |
| 21 | Corrupted firmware file |
| 4005 | Outdated software |
| 4014 | Outdated iTunes |
Part 2: How to Fix iTunes Could Not Restore iPhone
Solution 1: Disable Security Software
Antivirus software and Windows Firewall may treat iTunes as a suspect application. In such cases, iTunes may crash when restoring an iPhone. You can fix this problem by disabling security software and try restoring iPhone again.
Click your antivirus or VPN in the tray.
Disable and turn it off.
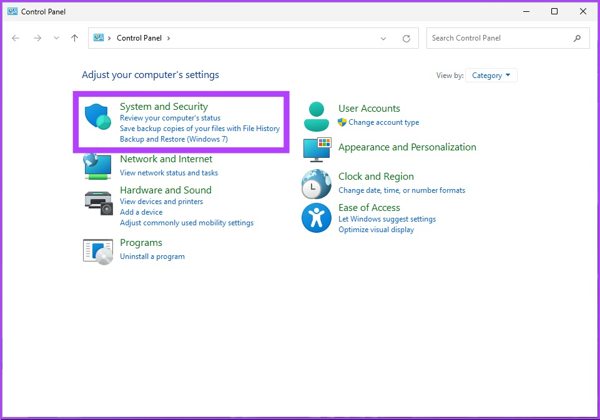
Open the Start menu, find and choose Control Panel.
Choose System and Security.
Click Windows Defender Firewall.
Hit Turn Windows Defender Firewall on or off.
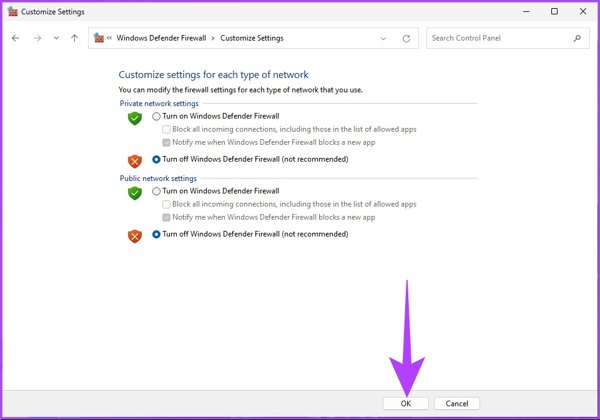
Select Turn off Windows Defender Firewall for Public network or Private network according to your situation.
Click OK.
Now, restore the iPhone from iTunes.
Solution 2: Restart Everything
The connection issues may be responsible for iTunes closing when restoring iPhone. Firstly, you'd better disconnect your device and check your cable carefully. Restart all your devices and fix this problem.
Restart iPhone
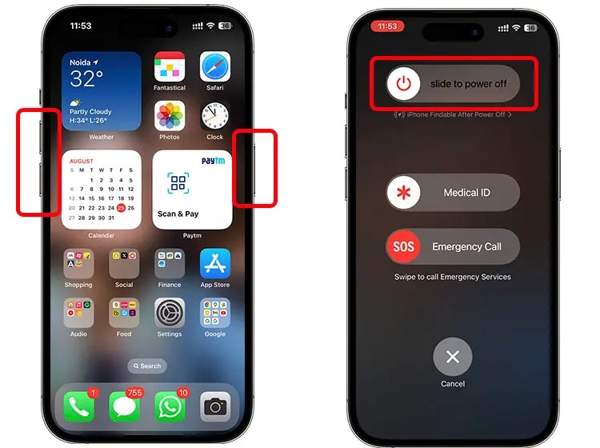
For an iPhone with Face ID, press and hold one of the Volume buttons + the Side button. For an iPhone without Face ID, long-press the Power button.
When the power-off screen appears, release the button or buttons.
Move the slider to shut down your device.
A few minutes later, hold the Side or Power button until you see the Apple logo.
Restart PC
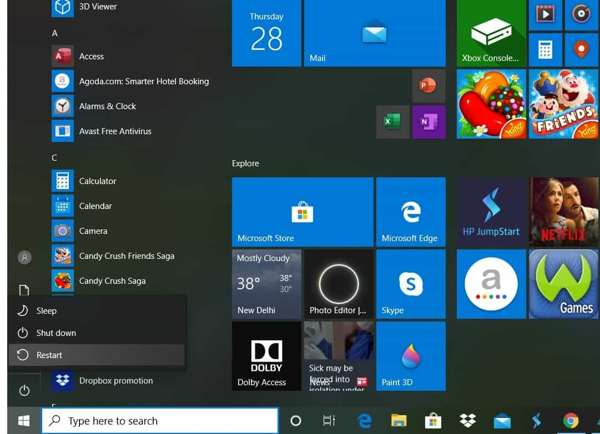
Click the Start menu.
Hit the Power button.
Choose Restart and wait for your PC to boot again.
Restart Mac
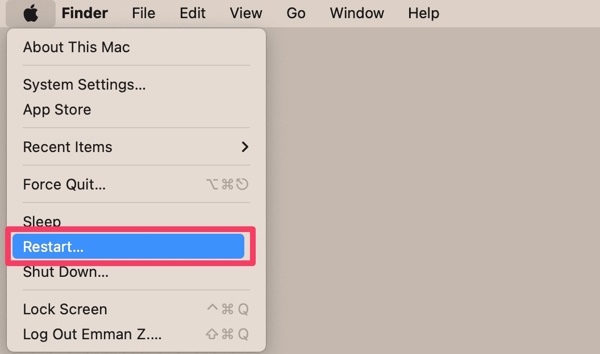
Click the Apple menu.
Choose Restart.
If prompted, click Restart on the confirmation dialog.
After your device boots, connect your iPhone to your computer and try to restore with iTunes.
Solution 3: Update Everything
Outdated software and iTunes can lead to various problems, including iTunes crashes when restoring an iPhone. Therefore, you'd better keep all your operating systems and iTunes up to date.
Update iPhone
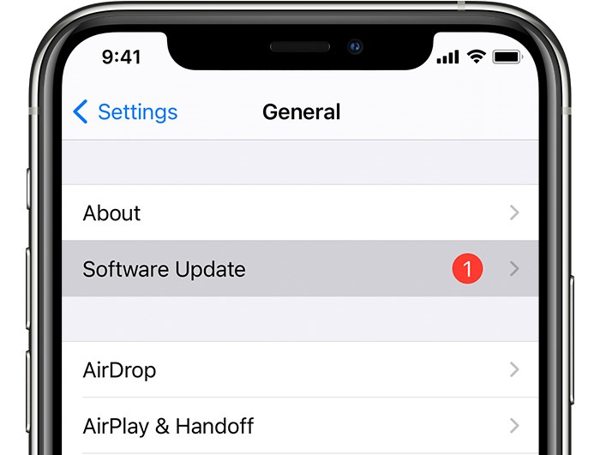
Open the Settings app.
Go to General and tap Software Update to search for updates.
If an update is available, tap Download and Install.
Follow the onscreen instructions to update your iPhone.
Update Windows
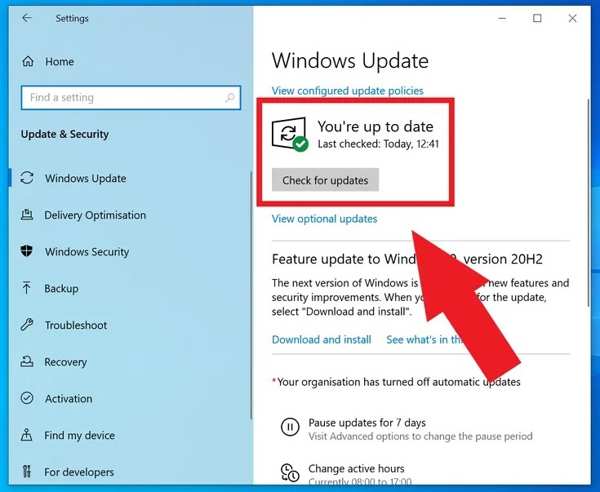
Click the Start menu and choose Settings.
Click Update & Security.
Go to Windows Update and click Check for updates.
If an update is available, your PC will download it now.
Update iTunes
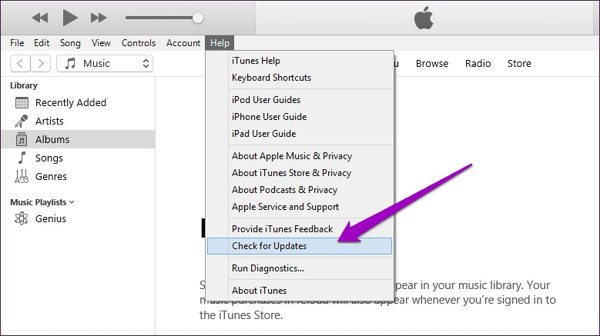
Go to the Help menu in iTunes on PC or the iTunes menu on Mac.
Choose Check for Updates.
Next, follow the onscreen instructions to install the update.
Solution 4: Check Your Storage
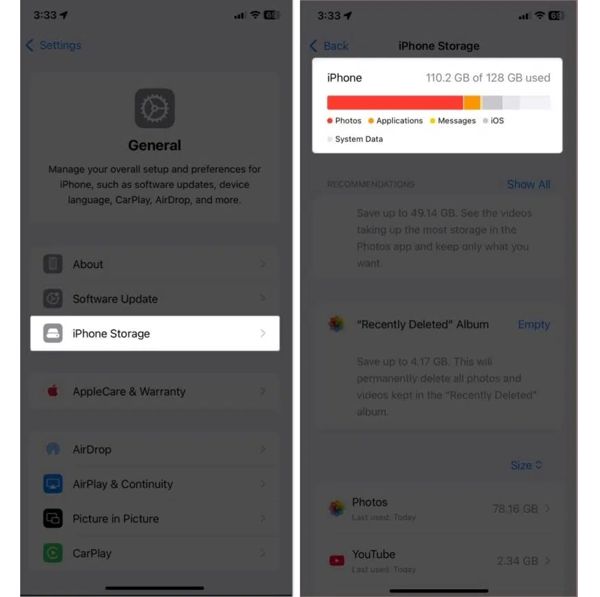
Some people reported that their iTunes could not restore their iPhones because there was not enough free space. When restoring your data, both your Apple device and computer should have sufficient storage.
Make sure that your iPhone storage matches the size of the iTunes data. Plus, you'd better free up space on your computer, like uninstalling useless applications.
Extended Reading:
Part 3: Ultimate Way to Restore iPhone Data Without iTunes
If you have performed the solutions above but iTunes still cannot restore iPhone, you'd better look for an alternative solution, such as imyPass iPhone Data Recovery. It can restore your iTunes backup without using iTunes.

4,000,000+ Downloads
Restore iTunes data to iPhone without iTunes.
Open iTunes backup and preview data.
Restore iPhone without resetting your device.
Won't interrupt existing data on your iPhone.
Support the latest versions of iOS and iPadOS.
How to Restore iPhone Without iTunes
Detect your iPhone
Launch the iPhone restore software once you install it on your PC. There is another version for Mac users. Connect your iPhone to your PC with a Lightning cable. If prompted, tap Trust on your iPhone screen to trust your PC. Choose the Recover from iTunes Backup File tab on the sidebar.
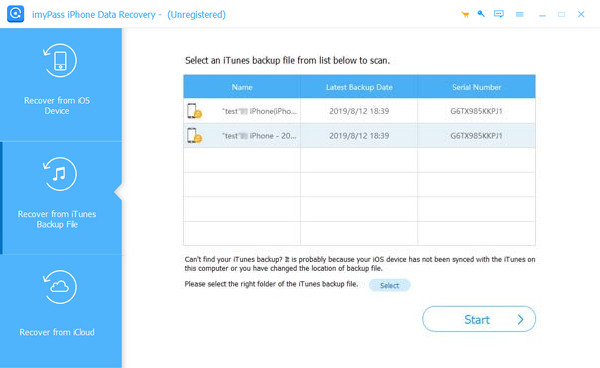
If you don't have an iTunes backup, choose Recover from iOS Device instead.
Preview iTunes backup
Pick the right iTunes backup and click the Start button to open it. You can view all data in the backup by type. If there are too many files, select Show Deleted Only to view deleted data. You can quickly locate specific files with the Search bar.

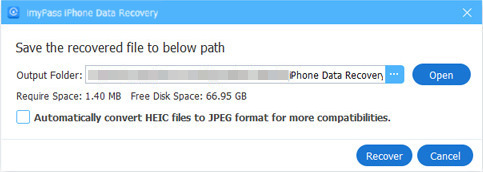
Restore iPhone
Select the files you want to restore. Click the Recover button at the bottom right corner. Click the Open button on the pop-up dialog and select an output folder. Finally, click the Recover button again to begin restoring your iPhone with iTunes backup. When it is done, disconnect your iPhone.
Conclusion
This article explained what to do if you cannot restore an iPhone from iTunes. You can figure out the cause according to the error code. More importantly, you can follow the solutions one by one to fix this problem and restore your iOS device to normal. imyPass iPhone Data Recovery, on the other hand, is an alternative solution to restore your device with an iTunes backup smoothly. It can recover data even if you don't have a backup.

Samuel is a senior editor from imyPass. He is an expert on password unlocking. He has over five years of experience writing tutorials on phone unlocking.
Hot Solutions
-
Unlock iOS
- Review of the Free iCloud Unlock Services
- Bypass iCloud Activation With IMEI
- Remove Mosyle MDM from iPhone & iPad
- Remove support.apple.com/iphone/passcode
- Review of Checkra1n iCloud Bypass
- Bypass iPhone Lock Screen Passcode
- How to Jailbreak iPhone
- Unlock iPhone Without Computer
- Bypass iPhone Locked to Owner
- Factory Reset iPhone Without Apple ID Password
-
iOS Tips
-
Unlock Android
-
Windows Password
